If you are one of the few who struggle with knowing your way around Metamask, then integrating the polygon network with it will seem like rocket science. You don’t have to worry; even humans studied rocket science and excelled at it. This guide will simplify everything there is to know about adding the polygon network to your MetaMask wallet. Sit tight and enjoy the smooth ride
.
Firstly, Set up your MetaMask wallet.
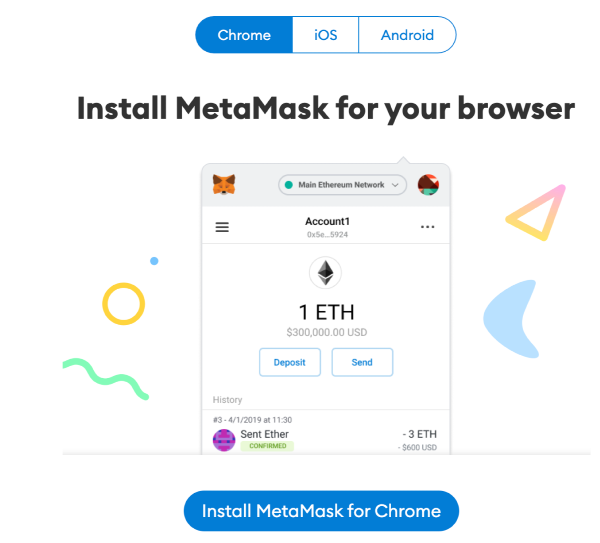
Users can interact with the blockchain via MetaMask, a browser extension, without downloading any other software. Through their website, you may get it for Chrome, iOS, or Android. Make sure to download from the official page to avoid downloading a fraudulent version.
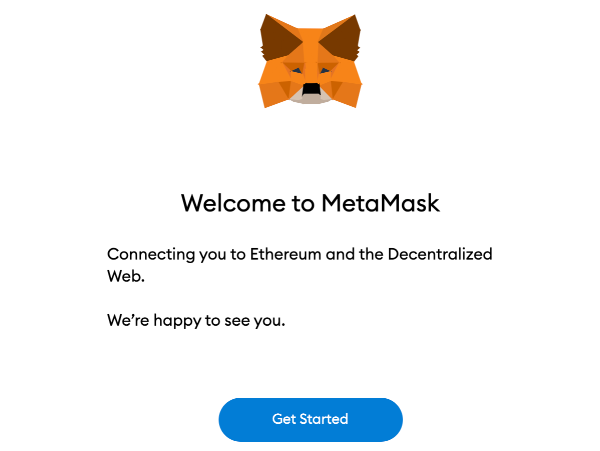
 After installing the extension on your PC, you'll see the MetaMask welcome page. To get going, click "Get Started"!
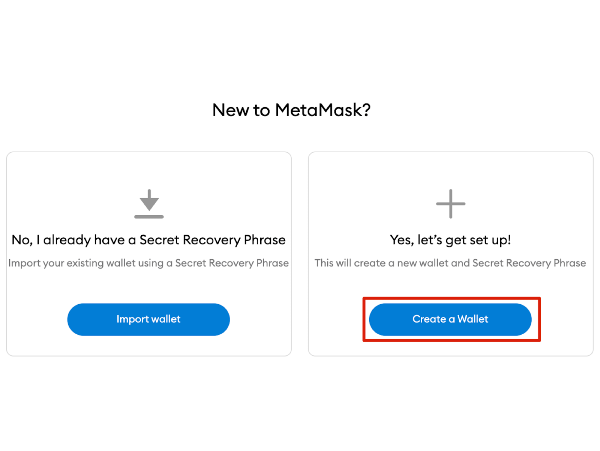
To create your wallet, click [Create a Wallet], or to import an existing wallet, click [Import Wallet].
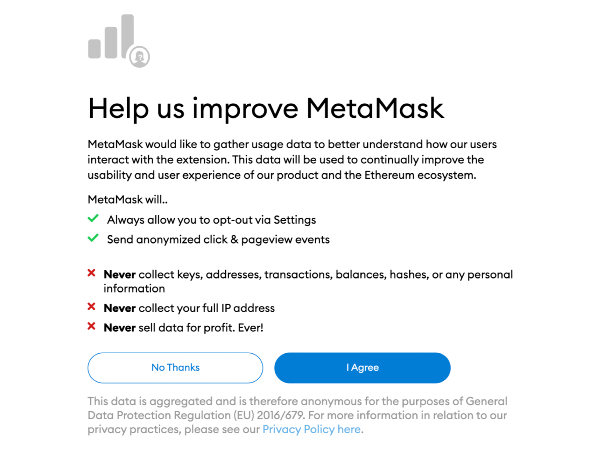
MetaMask will prompt you to consent to share anonymous usage data to enhance the extension. Your use of MetaMask will not be impacted by accepting or rejecting this option.
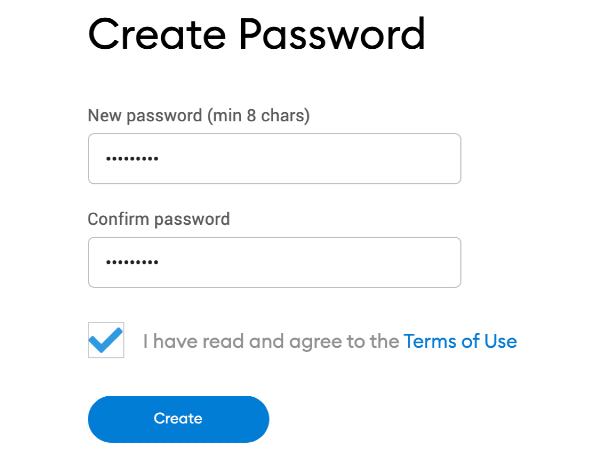
For your login and storage of your cryptocurrency, pick a secure password. This differs from your seed phrase. Make sure you always remember it so that you may access any funds on this device using the new login information (and write it down).
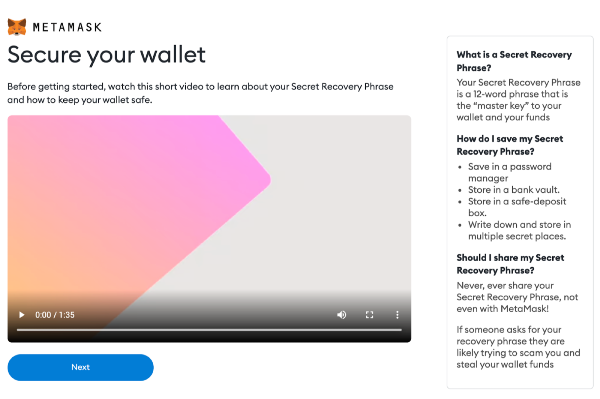
The seed phrase for the MetaMask wallet should be read through and memorized so that you never lose it. In order to get your money back if your smartphone is stolen, you can store it in a very secure location.
 You must now choose the words at the bottom of this screen in the correct order to repeat your seed phrase. When you're done, click [Confirm]!
Congratulations! You now have a working MetaMask wallet. To examine your funds, click "All Done."
By selecting the puzzle icon and adding MetaMask to the toolbar, you may easily add MetaMask to your Chrome browser. After the initial setup, MetaMask will be automatically connected to the Ethereum network.
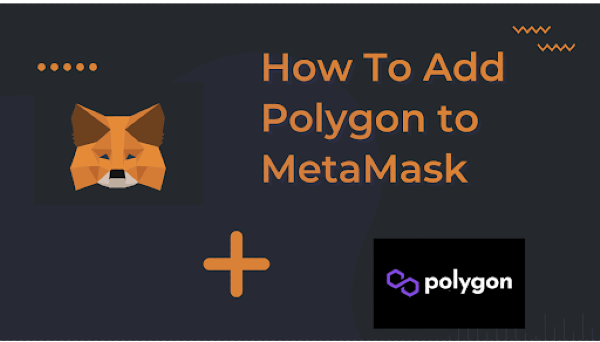
Let us look at how to connect Polygon Network to Metamask
Secondly, Configure The Wallet
Configuring your MetaMask wallet for Polygon on your PC and mobile phones is slightly different—-this involves a somewhat technical approach.
Configuring Metamask for PC
Visit Quickswap.exchange and click the "switch to polygon" on the top right corner.
You will get a pop asking if you'd allow the network to switch to polygon.
Once you've confirmed the details on the network, click on approve.
It will then ask if you want to swap from Ethereum to Polygon. Click on Switch network.
The network will then switch, and you can see your wallet address pop up.
When you click on the Metamask extension, you'd see Polygon Mainnet, and you'd be able to view your balance.
Configuring Metamask for Mobile
Open your Metamask, click on the top left Menu and open the browser.
Click on the top and type in "Quickswap.exchange."
Once you are on the page, it would ask you to connect to the site, do that. Then click on the switch to Matic feature, and you'd be asked to add the polygon network to Metamask.
Click on approve, and then you click on the switch network.
Polygon has now been added to your Metamask mobile.
How do you send Matic from Binance To Metamask?
Go to your polygon Matic wallet on Binance and click the withdraw button. When the withdrawal window pops up, make sure to choose "Polygon'' from the list of available networks, which also includes ERC-20. You must do some authorization procedures depending on what you set up. Enter your metamask polygon address (double-check if it is correct) and the amount you wish to send.
Additionally, it may take some time to send Polygon via Binance's queue as this might take between 10 and 15 minutes. Try a tiny amount first if you are new to this.
Read More: Verasity: Revolutionalizing AdTech Through Web3
Conclusion
This is how to link the MetaMask wallet to the Polygon network. On your MetaMask wallet, you may now send and receive MATIC and access dApps. Polygon-based NFTs can also be freely minted. On your MetaMask wallet, click the network option menu and choose "Ethereum Mainnet" to return to the "Ethereum Network." if you wish to access features solely available to the Ethereum Network.
Storing your cryptocurrencies in online wallets, exchanges and software wallets exposes you to risks of being hacked. Consider storing them in a hardware wallet today


If you are one of the few who struggle with knowing your way around Metamask, then integrating the polygon network with it will seem like rocket science. You don’t have to worry; even humans studied rocket science and excelled at it. This guide will simplify everything there is to know about adding the polygon network to your MetaMask wallet. Sit tight and enjoy the smooth ride .
Firstly, Set up your MetaMask wallet.
Users can interact with the blockchain via MetaMask, a browser extension, without downloading any other software. Through their website, you may get it for Chrome, iOS, or Android. Make sure to download from the official page to avoid downloading a fraudulent version.
To create your wallet, click [Create a Wallet], or to import an existing wallet, click [Import Wallet].
MetaMask will prompt you to consent to share anonymous usage data to enhance the extension. Your use of MetaMask will not be impacted by accepting or rejecting this option.
For your login and storage of your cryptocurrency, pick a secure password. This differs from your seed phrase. Make sure you always remember it so that you may access any funds on this device using the new login information (and write it down).
The seed phrase for the MetaMask wallet should be read through and memorized so that you never lose it. In order to get your money back if your smartphone is stolen, you can store it in a very secure location.
Congratulations! You now have a working MetaMask wallet. To examine your funds, click "All Done."
By selecting the puzzle icon and adding MetaMask to the toolbar, you may easily add MetaMask to your Chrome browser. After the initial setup, MetaMask will be automatically connected to the Ethereum network.
Let us look at how to connect Polygon Network to Metamask
Secondly, Configure The Wallet
Configuring your MetaMask wallet for Polygon on your PC and mobile phones is slightly different—-this involves a somewhat technical approach.
Configuring Metamask for PC
Visit Quickswap.exchange and click the "switch to polygon" on the top right corner.
You will get a pop asking if you'd allow the network to switch to polygon.
Once you've confirmed the details on the network, click on approve.
It will then ask if you want to swap from Ethereum to Polygon. Click on Switch network.
The network will then switch, and you can see your wallet address pop up.
When you click on the Metamask extension, you'd see Polygon Mainnet, and you'd be able to view your balance.
Configuring Metamask for Mobile
Open your Metamask, click on the top left Menu and open the browser.
Click on the top and type in "Quickswap.exchange."
Once you are on the page, it would ask you to connect to the site, do that. Then click on the switch to Matic feature, and you'd be asked to add the polygon network to Metamask.
Click on approve, and then you click on the switch network.
Polygon has now been added to your Metamask mobile.
How do you send Matic from Binance To Metamask?
Go to your polygon Matic wallet on Binance and click the withdraw button. When the withdrawal window pops up, make sure to choose "Polygon'' from the list of available networks, which also includes ERC-20. You must do some authorization procedures depending on what you set up. Enter your metamask polygon address (double-check if it is correct) and the amount you wish to send.
Additionally, it may take some time to send Polygon via Binance's queue as this might take between 10 and 15 minutes. Try a tiny amount first if you are new to this.
Read More: Verasity: Revolutionalizing AdTech Through Web3
Conclusion
This is how to link the MetaMask wallet to the Polygon network. On your MetaMask wallet, you may now send and receive MATIC and access dApps. Polygon-based NFTs can also be freely minted. On your MetaMask wallet, click the network option menu and choose "Ethereum Mainnet" to return to the "Ethereum Network." if you wish to access features solely available to the Ethereum Network.
Storing your cryptocurrencies in online wallets, exchanges and software wallets exposes you to risks of being hacked. Consider storing them in a hardware wallet today